
Compiling the wisdom of OUR/IM 8th grade teachers from around the country to make these tip sheets for teacher in my district. These tips DO NOT replace a thorough reading of the AMAZING teacher notes provided by the authors at Illustrative Mathematics. Begin your lesson planning there. You can find those linked here.
Lesson 1.1
Prompts for the which one doesn’t belong day 1 from the amazing @MrsNewell:

Some people on this lesson played a you tube video of the Cha Cha Slide and either had their students dance or notice all the motion direction words. Here is one you might choose to use: https://youtu.be/wZv62ShoStY
People suggested modifying the black line master for Triangle Square Dance to all be on one page, so it is harder to see which picture your partner is looking at. Here is a one page version you can use. Here is another one formatted in a single line.
Lesson 1.2
On this warm up discussion, have students highlight one set of corresponding sides to see the angle of rotation. You will want to have them turn back to this during lesson 1.3
Today is the day you give formal vocabulary. How will you ask student to participate in this? Ideas I saw shared:
- Take notes in back of workbooks on note pages
- Highlight words and phrases in the student lesson summary
- Add informal language from 1.1 to lesson summary
- Write definitions for the glossary words underneath the summary
- Do a stand and talk, switching partners, to define the glossary words to each other
- Add an entry to an interactive notebook
- Find a real life example of at least 3 words in the list with your group and share with the class.
Lesson 1.3
We were hearing from lots of teachers that they had trouble with lesson 3. Monday, our district OUR/IM implementation team sat down and did the student lesson together. You definitely need tracing paper to make this lesson work. Even with the tracing paper, it was interesting to see how we approached it differently. We each initially thought our way was the easiest and most natural way to do it, which means kids in your class will probably be using alot of different ways. We strongly advise doing the second activity together in your plc time to help you know what to expect as students work the task. There were also ones for each of us where we said, ” Wait, how are you doing that?”, especially as we got to the isometric graph paper.
Having students stop, check answers, and share how they did it with a partner or group should help students increase efficiency. As students get to #5-8, you may need to put someone at the doc cam to show how they did something if you have a big group stuck. It is REALLY important that you brought out that the angles are all 60 degrees during the warm up. If no one notices that, you may have to notice it yourself. . . ” did anyone notice anything about the angles in these triangles? (silence) I noticed that they were each 60 degrees.” (point out 3 to make a straight angle or 6 to make 360 degrees).
Hints/scaffolds to offer when needed:
#1 and 2: Students can use the corner of the patty paper to help locate the shape squarely on the grid.
#3: drawing a cross at the point of rotation can help students visualize angle of rotation
#4: Method 1- line tracing paper along line of reflection. Trace and flip over the line.
Method 2- trace, fold paper along line of reflection to flip. This method slightly more affected by inaccuracies in tracing.
#5: Start by focusing on rotating segment AB 60 degrees. Refer back to angle you highlighted in warm up on lesson 2. (So many different ways to see this. Might be good to stop and share strategies.)
#6: Same hint as #5. . .focus on only one side. “ what if you just rotated side CD clockwise 60? Where would it’s image be?”
#7: same hint as #4. For me personally, my inaccuracy in tracing and folding made method 2 a fail here. After switching to method 1, we went back and looked at my valid method and why it didn’t work. I became acutely aware of my need to attend to precision. Might be worth a class pause and discuss on that point.
#8: everyone felt so happy to get to this one after struggling with adjusting to the isometric paper for awhile. This is where we felt “ ok, this grid isn’t that bad.” If you are running low on time and your class is frustrated, this might be a good spot to skip to as you close the activity.
Also great day to remind your students that struggling is part of learning. Here is a great read here that would make an awesome writing prompt for hw the either day 2 or day 3. http://bit.ly/gloryinstruggle
I personally chose it for the night of day 2 so they come in with good thoughts about struggle as they start this lesson.
FYI If you are using the technology apps built into the curriculum, lots of teachers had struggles with students not reading directions and every hand being up once they start. Adjust your intro to tech appropriately.
Added later after watching classrooms doing this lesson:
Students DO NOT intuitively know how to use the tracing paper. This is a lesson that should help them develop these skills. Telling them how is not enough. They need to see it. Don’t miss this tip in the teacher lesson plan:
“For students using print materials: Optionally, before students start working, demonstrate the mechanics of performing each type of transformation using tracing paper.”
The most successful classrooms had students telling teachers the transformations they used while teachers followed those directions using tracing paper on the board or under a document camera. Just orally sharing the steps without visually modeling with precision left a large majority of the class confused.
Lesson 1.4
You need to make your 5 practices anticipation sheet before this lesson(Download a copy here), and try to understand each of the methods listed in the teacher notes. I never would have thought of a couple, and would have had a hard time thinking on my feet if students shared one of the more unusual ones, so I was grateful the teachers notes had them all written out. The lesson notes for the teacher also do a great job emphasizing how to get the most out of students sharing their methods.. My favorite tip:
“Each time a reflection is mentioned, ask students where the line of reflection is located and when a rotation is mentioned, ask for the center of the rotation and the number of degrees.”
If you do this and then the lesson synthesis, they should be 100% ready for the cool down.
Added after observing classrooms working this lesson:
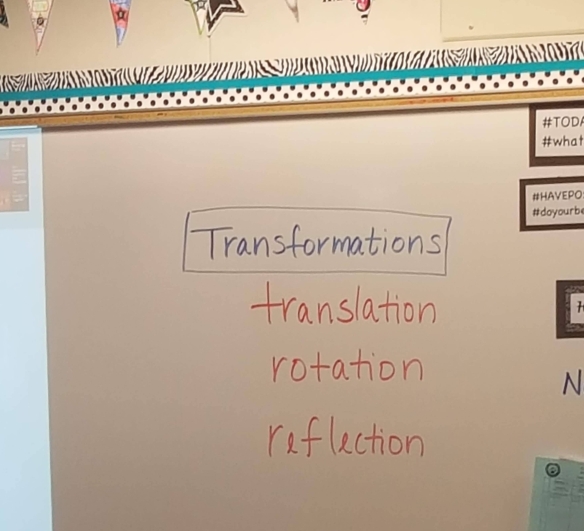
Students are struggling with vocabulary. Having the terms prominently on the board seemed to really help students internalize and incorporate them into their own working vocabulary. (Most word walls I observed were small or less prominent and so did not have the same effect).
In general, lessons 3 and 4 provide many great opportunities to notice that people see things in different ways and there is more than one right path to get to the solution
( or in this case, the image). If you want to draw out this idea a bit, try a dot talk or two. See this Jo Boaler video of a dot talk in action. You can also use these resources by Steve Wyborney, here and here to help you prepare to lead one yourself.
This week, most sites did not get through all 4 of these because of other back to school community building activities, so hints will end there for this week.
If you have other tips for these 4 lessons or pictures of your classroom in action, please share in the comments.
Extra tips as more teachers get to these lessons:
No patty paper? Here are some things teachers have made work in a pinch:
- cut up old transparencies from overhead projector days. Students will need an overhead pen.
- clear plastic dessert plate (someone was getting creative there!)
- wax paper
- wax free food service paper from the school kitchen
- Dry wax paper
- parchment baking paper
- tracing paper
- tissue paper from their christmas wrap box
- plain white printer paper ( not sure I would be able to see through this, but it worked in at least one classroom.)
Here and here are completed versions of the 5 practices sheet for 1.4. Chose whichever is easier for you. Use the time these save you to actually try each method so you are ready to lead the conversation.

Thanks! This is super helpful. I am going to try and have my kids use method 3, but have them draw the angle and explain after, that after rotating you know when to stop, when the angle you drew matches up perfectly with the angle that is adjacent to it (either clockwise or counter)
LikeLike
This is so awesome, I love the attachments with the slides all on one page, we had the same discussion about how the kids might see which one they are describing!! I love how you can take IM and essentially make it your own without changing the learning targets!
LikeLike
The one with 3 sheets on one page is snipped from the lesson slides made by Jennifer Wilson. The one where each dance is a single row was made by Jenn Moyer. I love that all this good stuff doesn’t stay in just one classroom. Thank you to so many for sharing ideas that make us all better!
LikeLike
I’ve been cutting up the “laminator ends” into small squares to use as tracing paper with dry erase markers. The kids have an easy time using it since it is clear and there is no tearing like patty paper. I also like that it is readily available, reusable, and free!
LikeLike
Great idea!
LikeLike